Lightning Effects
By Pål Öberg -@caputmortuum_miniatures
ABOUT
Hey everyone, my name is Pål, but you can find me on Instagram under the name @caputmortuum_miniatures! I would consider myself a beginner since I only started my painting journey in January of 2026, and I'm still trying out alot of new techniques.
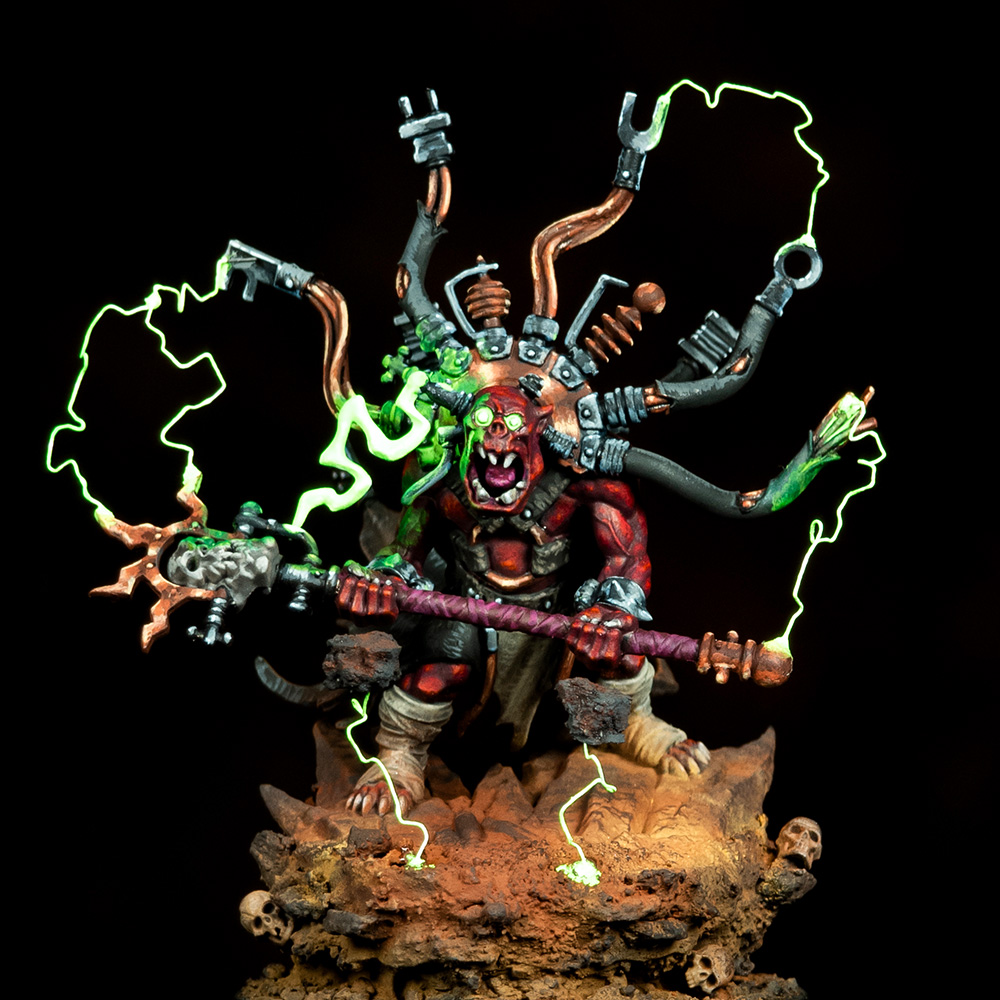
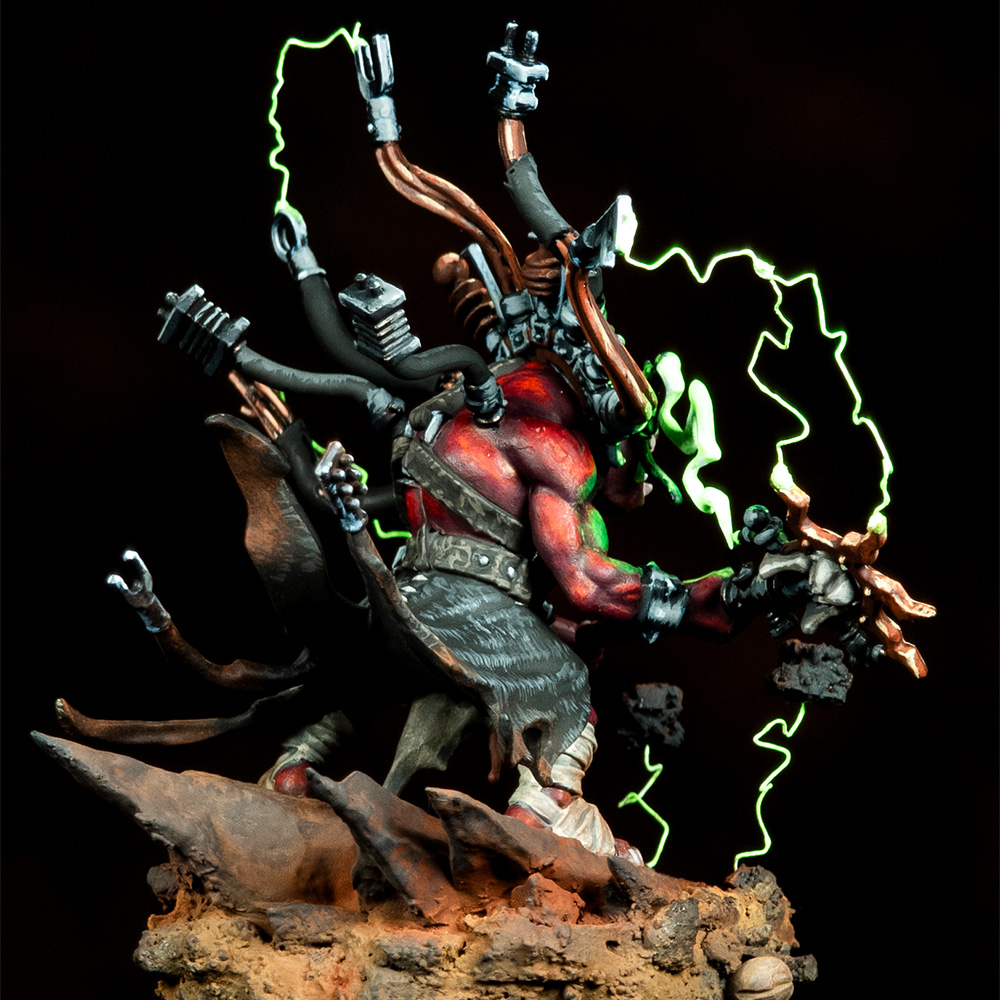
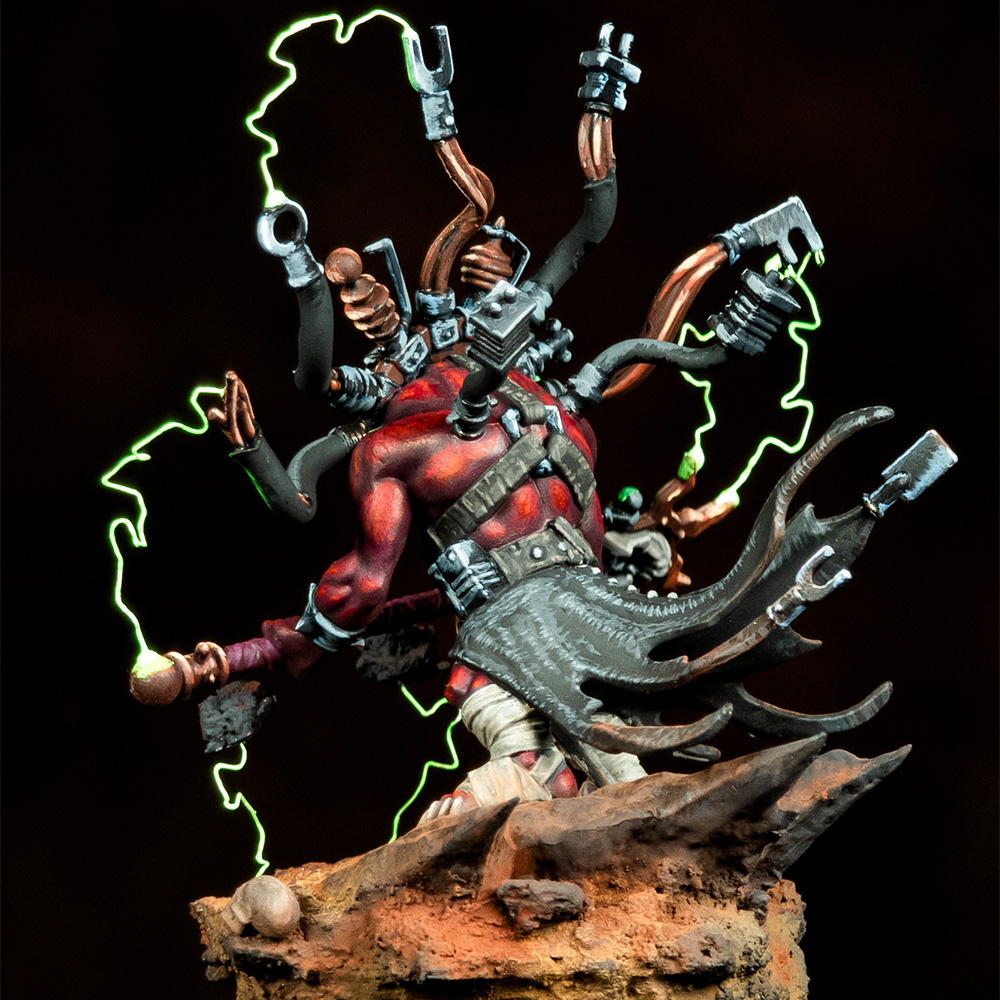
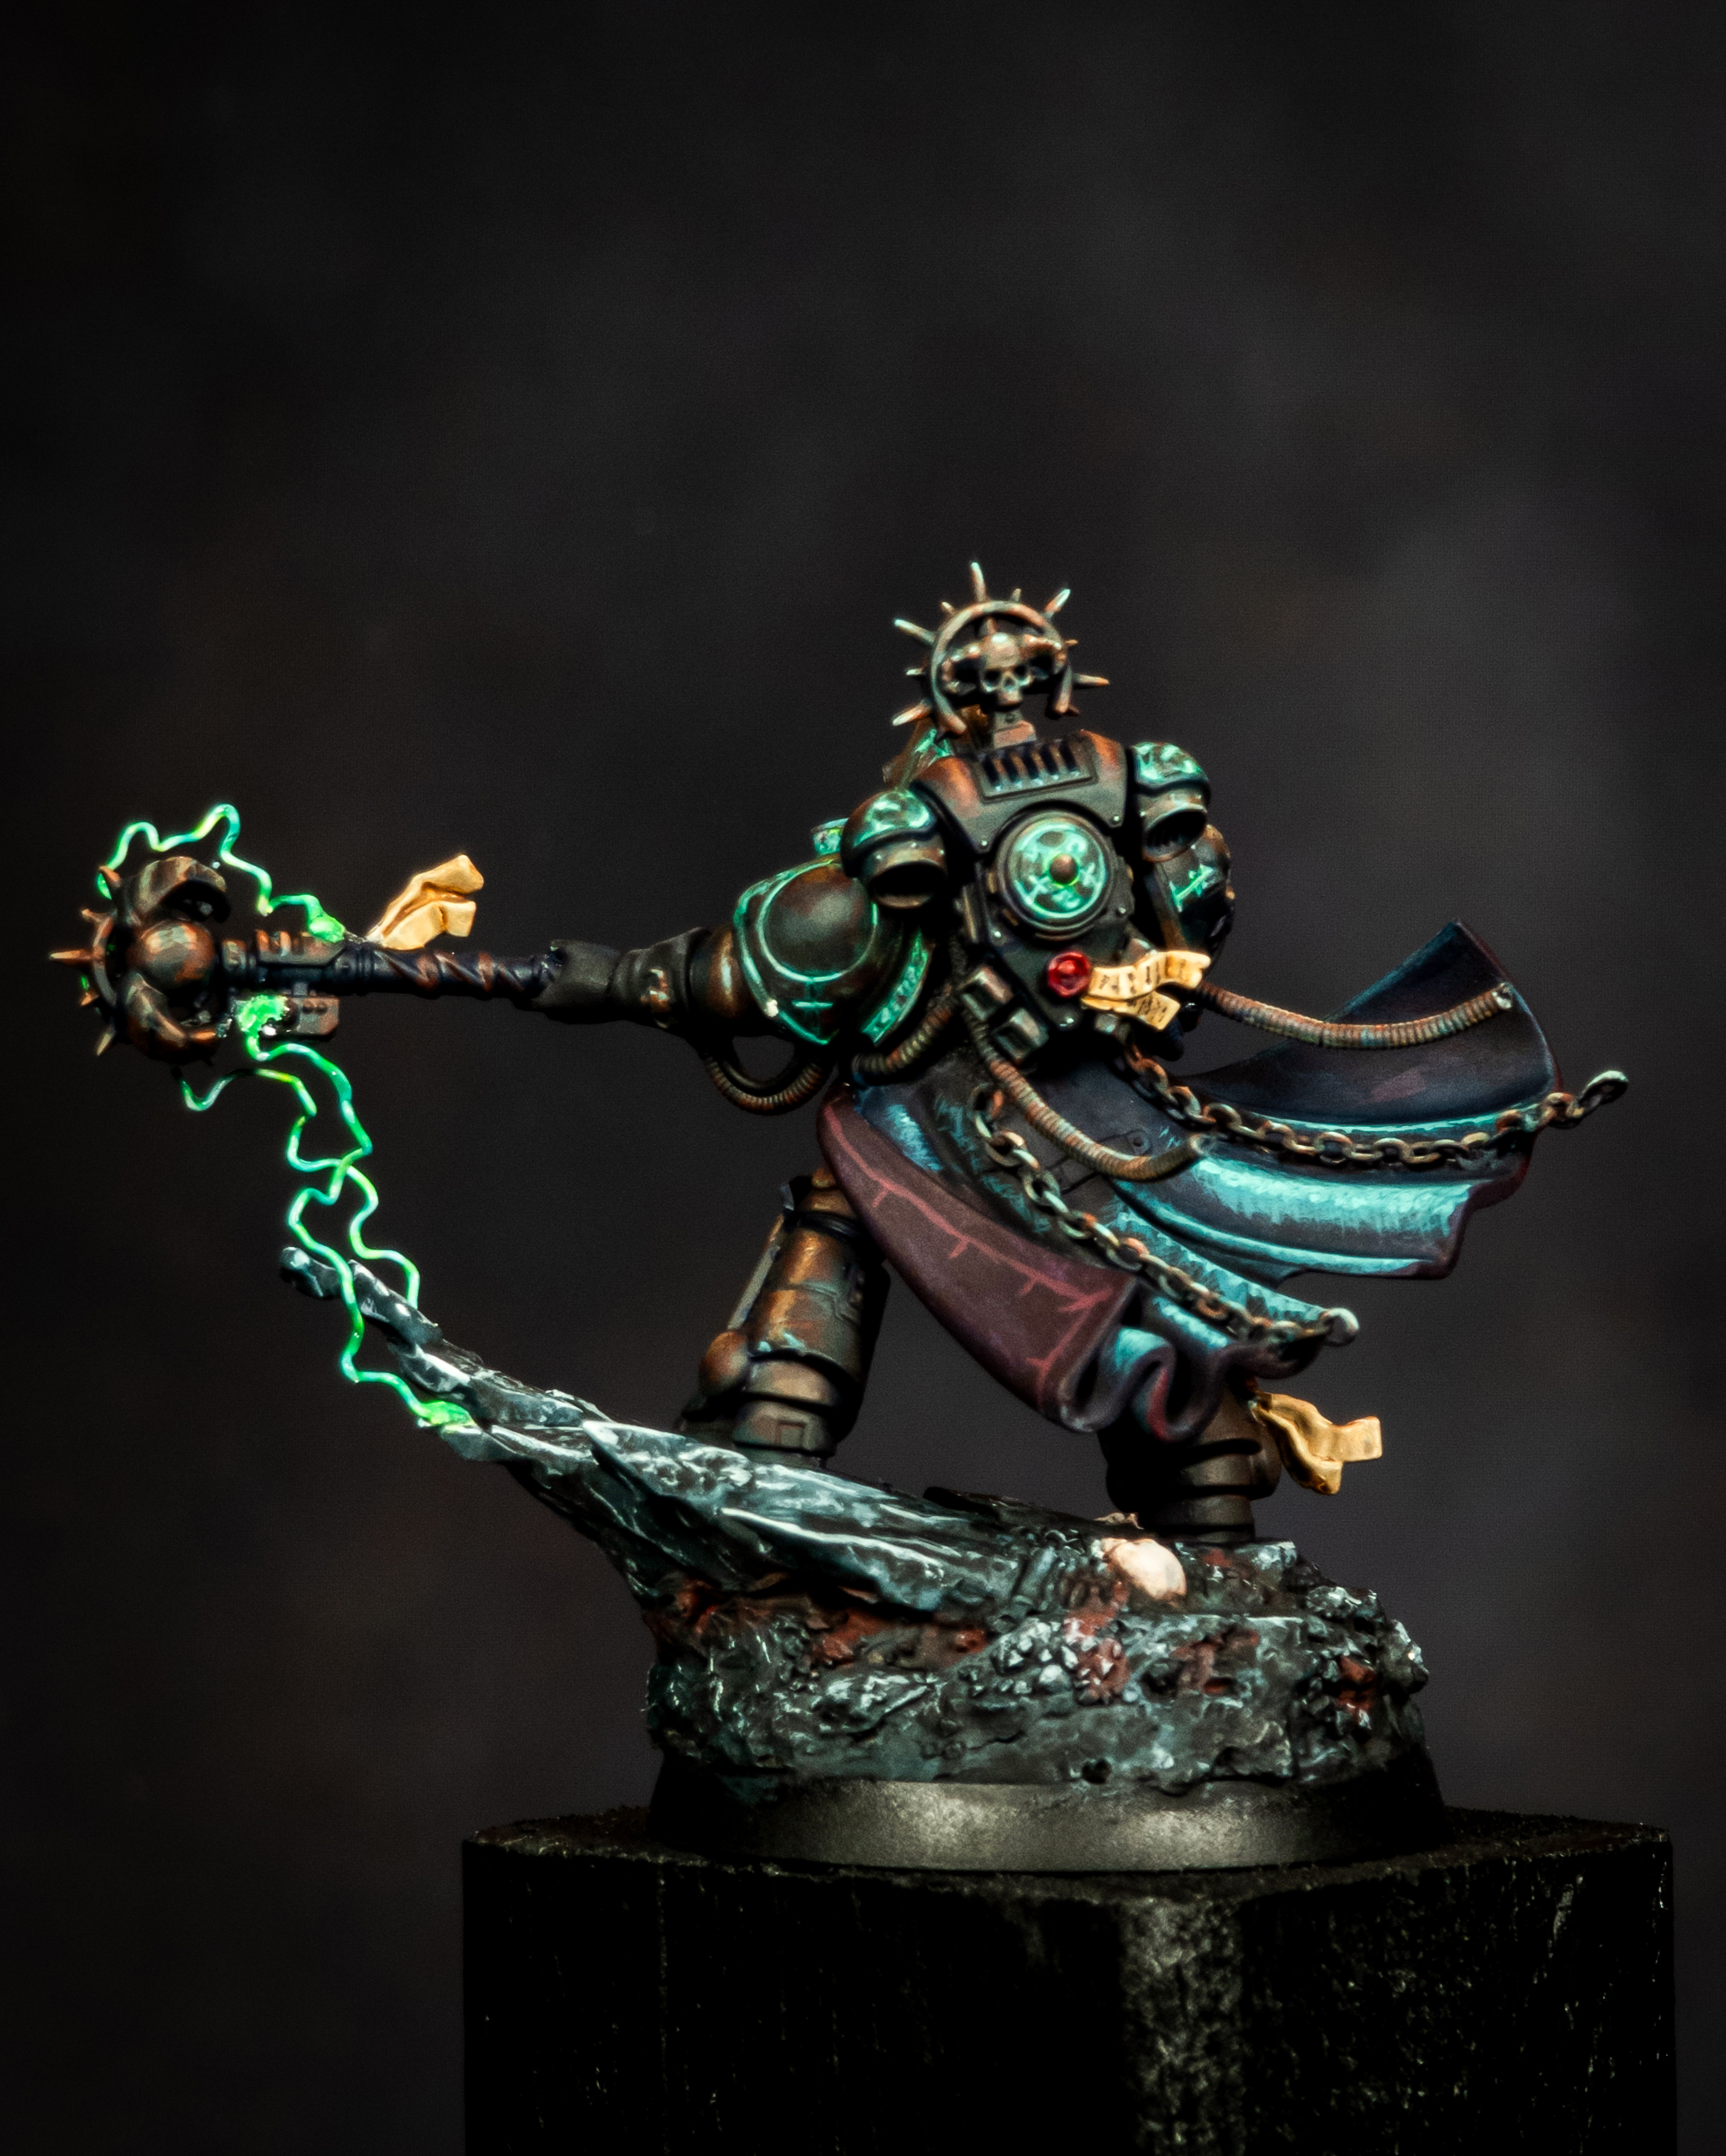
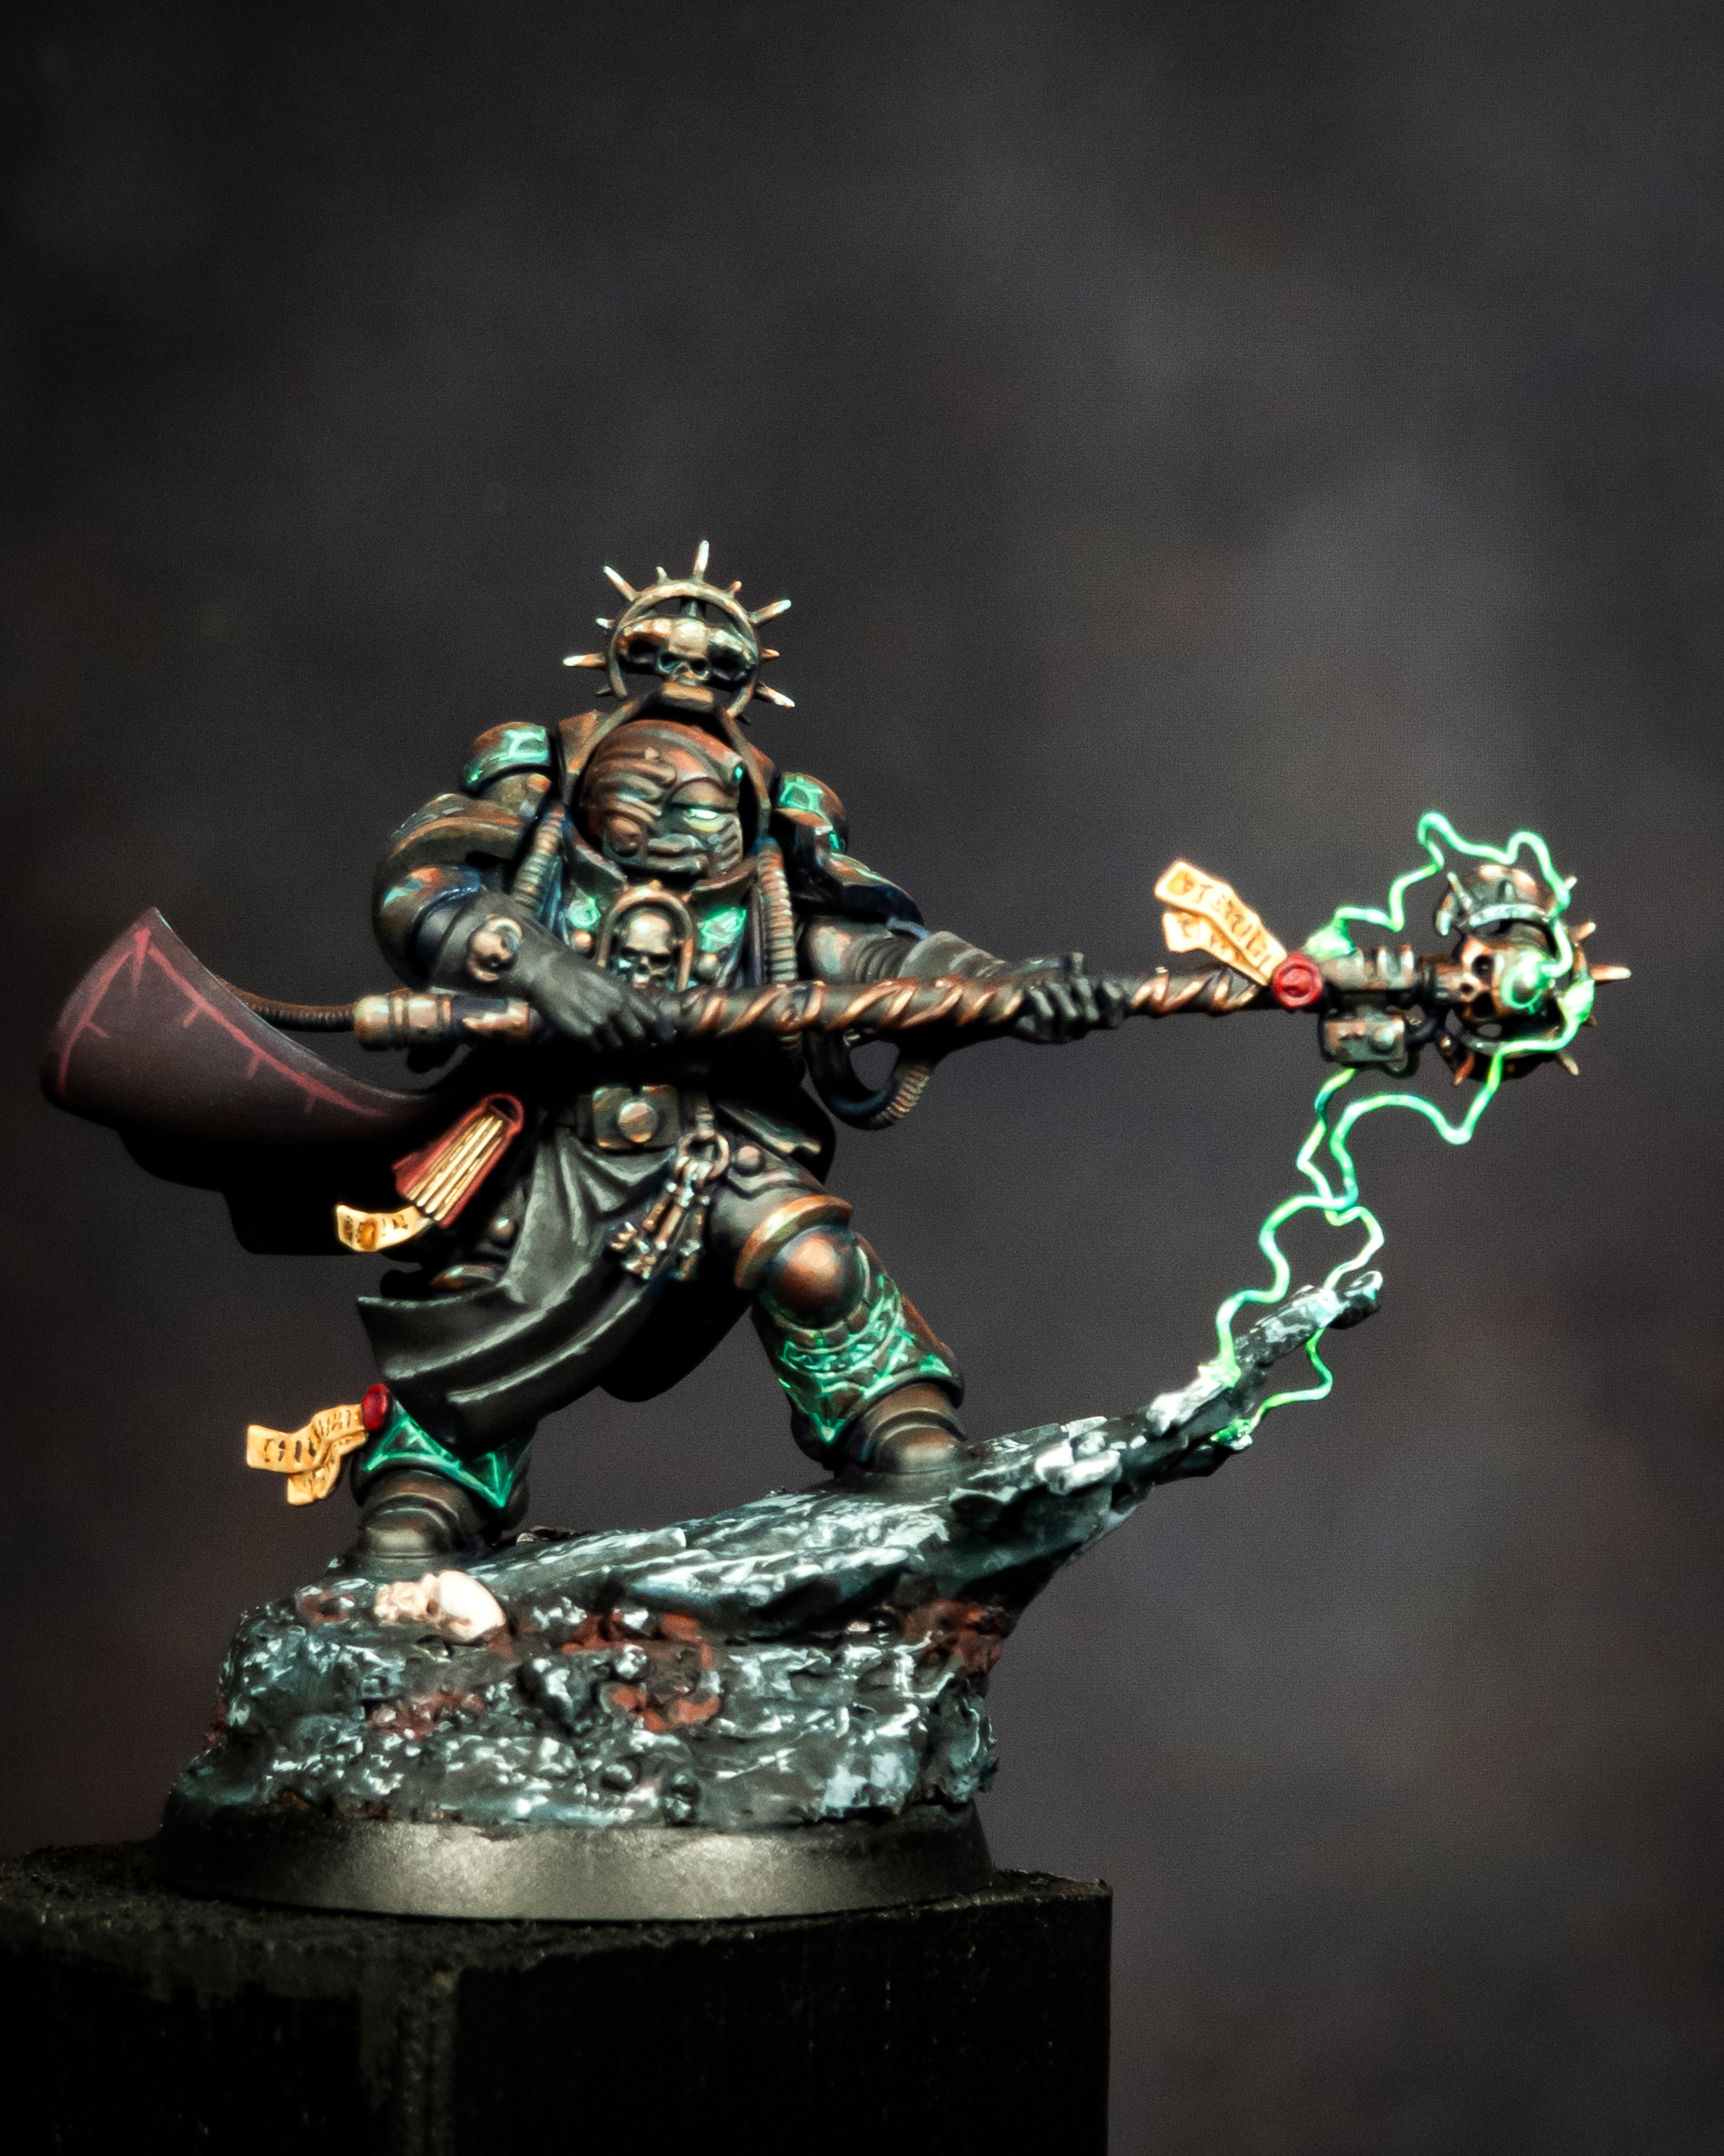
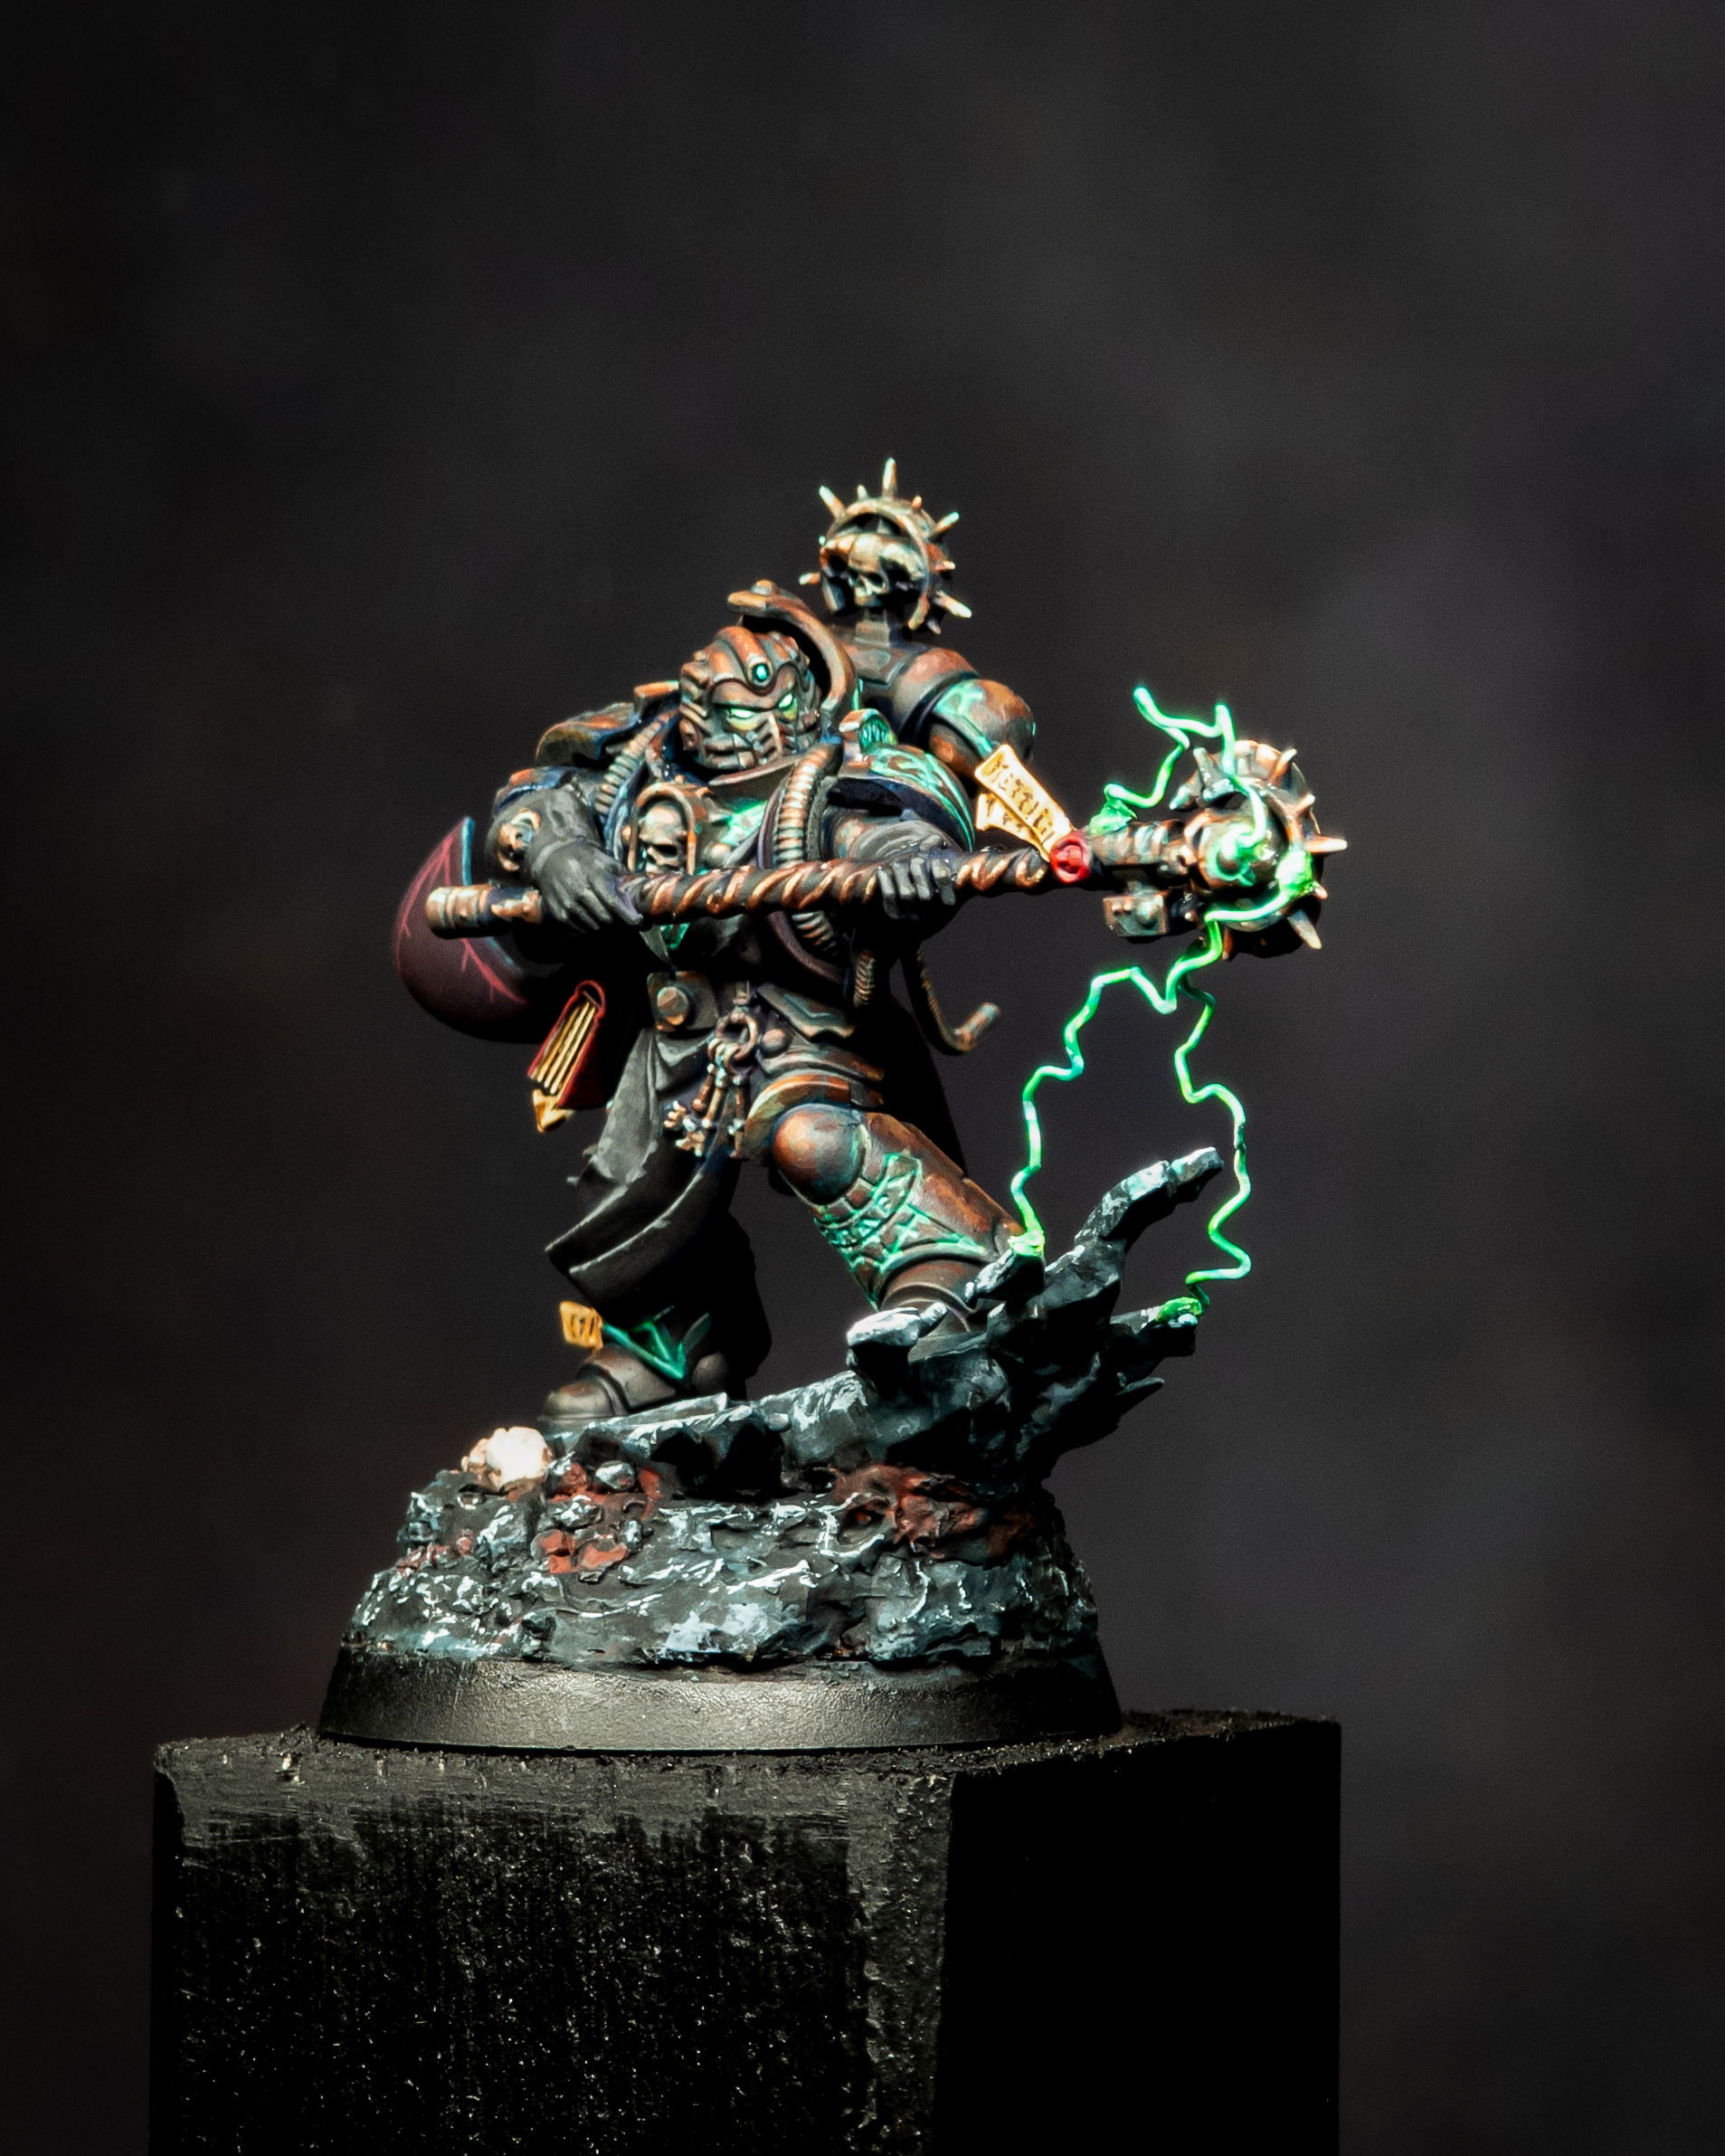
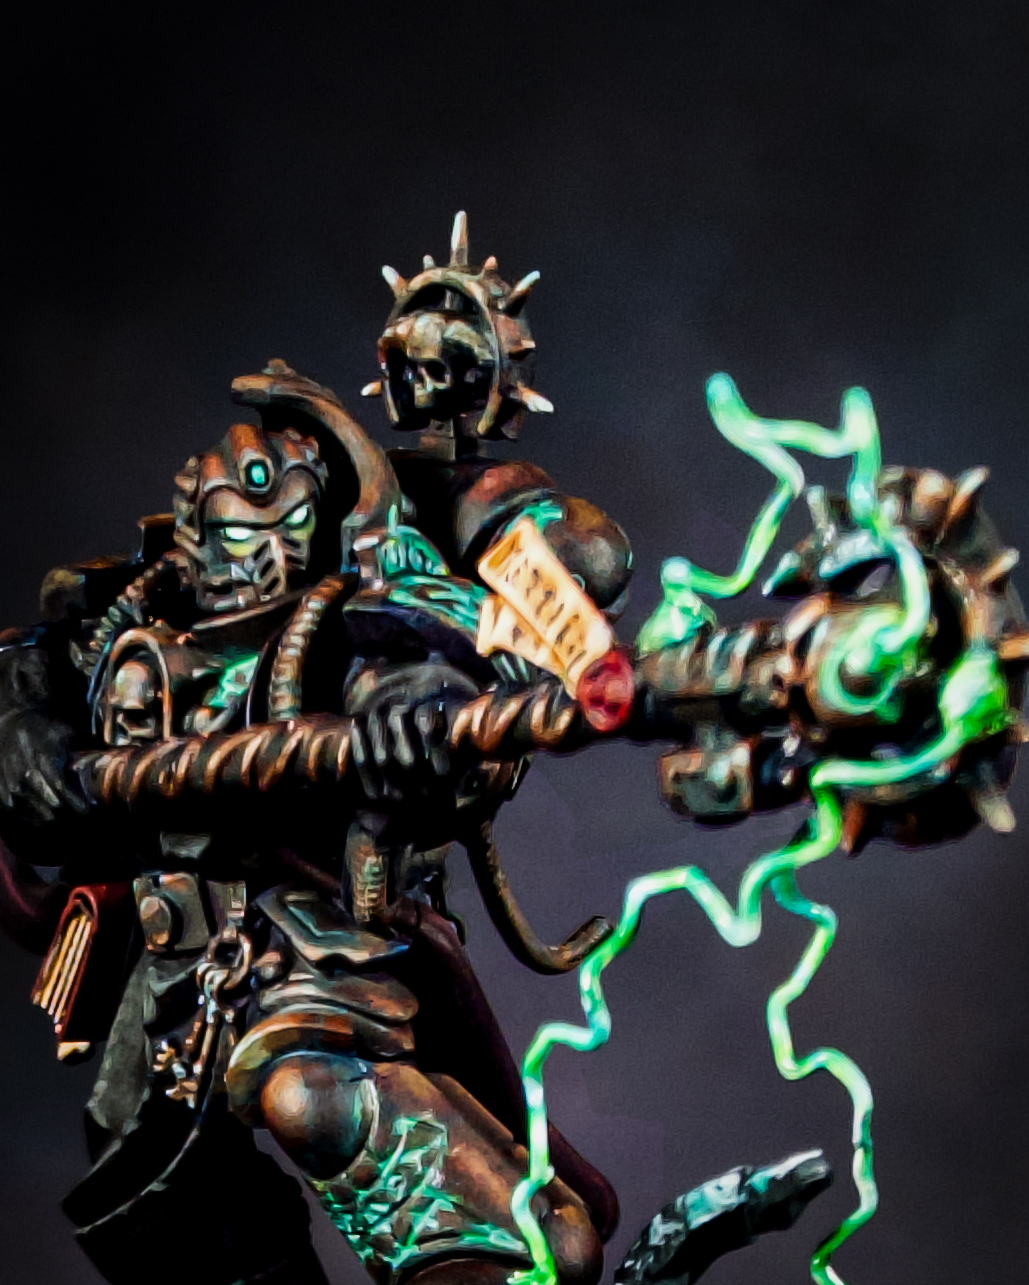
Here I'm showcasing how I did the lightning on my recent models. I have seen this done several times before, but most notably by Elminiaturista, whom I was very inspired by here.
I managed to find some 0.3mm wire from a hobby store, but looking back, I would try to find something even thinner. I have heard that you can use the individual copper wires from an Ethernet cable, since they are very thin.
Start by cutting some length of the wire, then, with some pliers and some tweezers, bend it in random jagged angles. Try to make it as random as possible, with sharp corners to simulate real lightning.


Kit List / Suggestions
Preferably 0.1 - 0.3mm
Used to shape the wire into random jagged angles.
Using a precision nozzle works best because the wire is incredibly thin.
This is the first paint used before using the Enamel Fluo Pigments. After the Pigment has been applied the Pro Acryl is thinned and used to highlight.
Thinned with White Spirits so be careful!
Now, you need to find suitable areas where to place the wire. Think about where it would originate from and travel to in real life. Or just make it as cool as possible 😉.
Next, place the wire using superglue. You can also use a needle to make small guide holes in the plastic.
Now that the wires are placed, take some white paint; I used Pro Acryl bold titanium white, and paint all of the wires. In the next step, I used some liquid enamel fluo pigments from AK. This is an enamel product, thinned with white spirits, so do this in a well-ventilated area. Paint all wires with the fluo paint and let it dry thoroughly.
The next step is simple: just use some thinned white and highlight certain parts where the lightning would be the most intense.


Now, I did not do this. But to make it pop even more, you can do some simple OSL near where the lightning would cast its light, using some of the enamel paint or some thinned-down paint/contrast paint in the same hue as the enamel pigments. Just make sure it's not the same intensity as the actual light source.
Now you're finished, and you can bask in the glory of your lightning! 😎
Showcase